I promise not all my posts will be pump cases – it can just be extremely annoying when you have to have a beeper sized device on your person at ALL times, day and night. As a result, when I’m trying to come up with a project for this blog a better, more efficient pump case is always running through my head. I’m pleased with how this case turned out and I hope you like it as well!
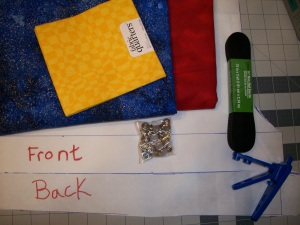
Materials
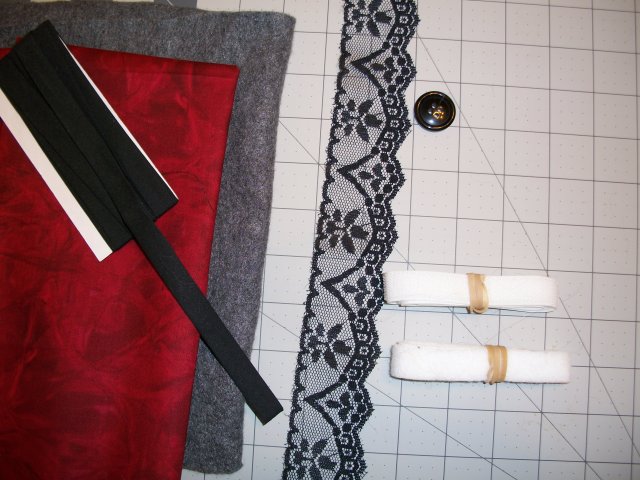
- Scrap fabric – Exterior and Lining
- Bias Tape
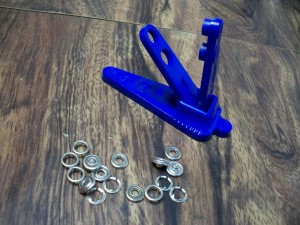
- Hook and Loop (Velcro)
- OPTIONAL – Embellishments (pictured is the lace and button)
Cut the pieces
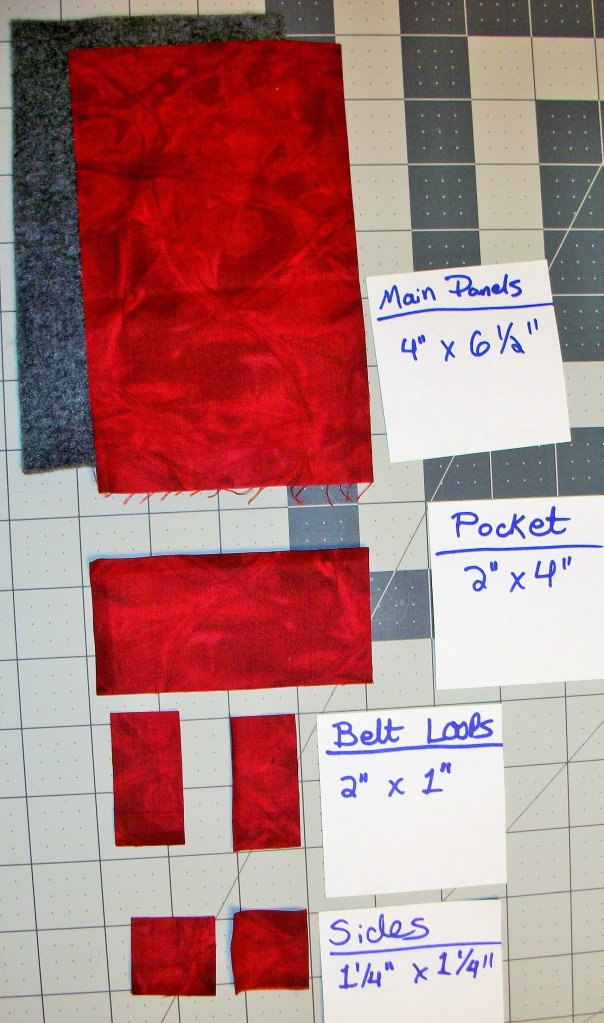
- Main Panel 4″ x 6.5″: Exterior Fabric and Lining
- Sides 1.25″ x 1.25″: Exterior Fabric
- Pocket 1.5″ (NOTE: not 2″) x 4″: Exterior Fabric
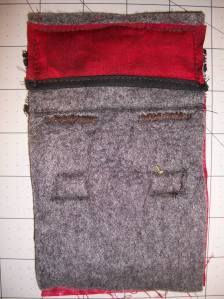
- Belt Loops 2″x 1″: Exterior Fabric
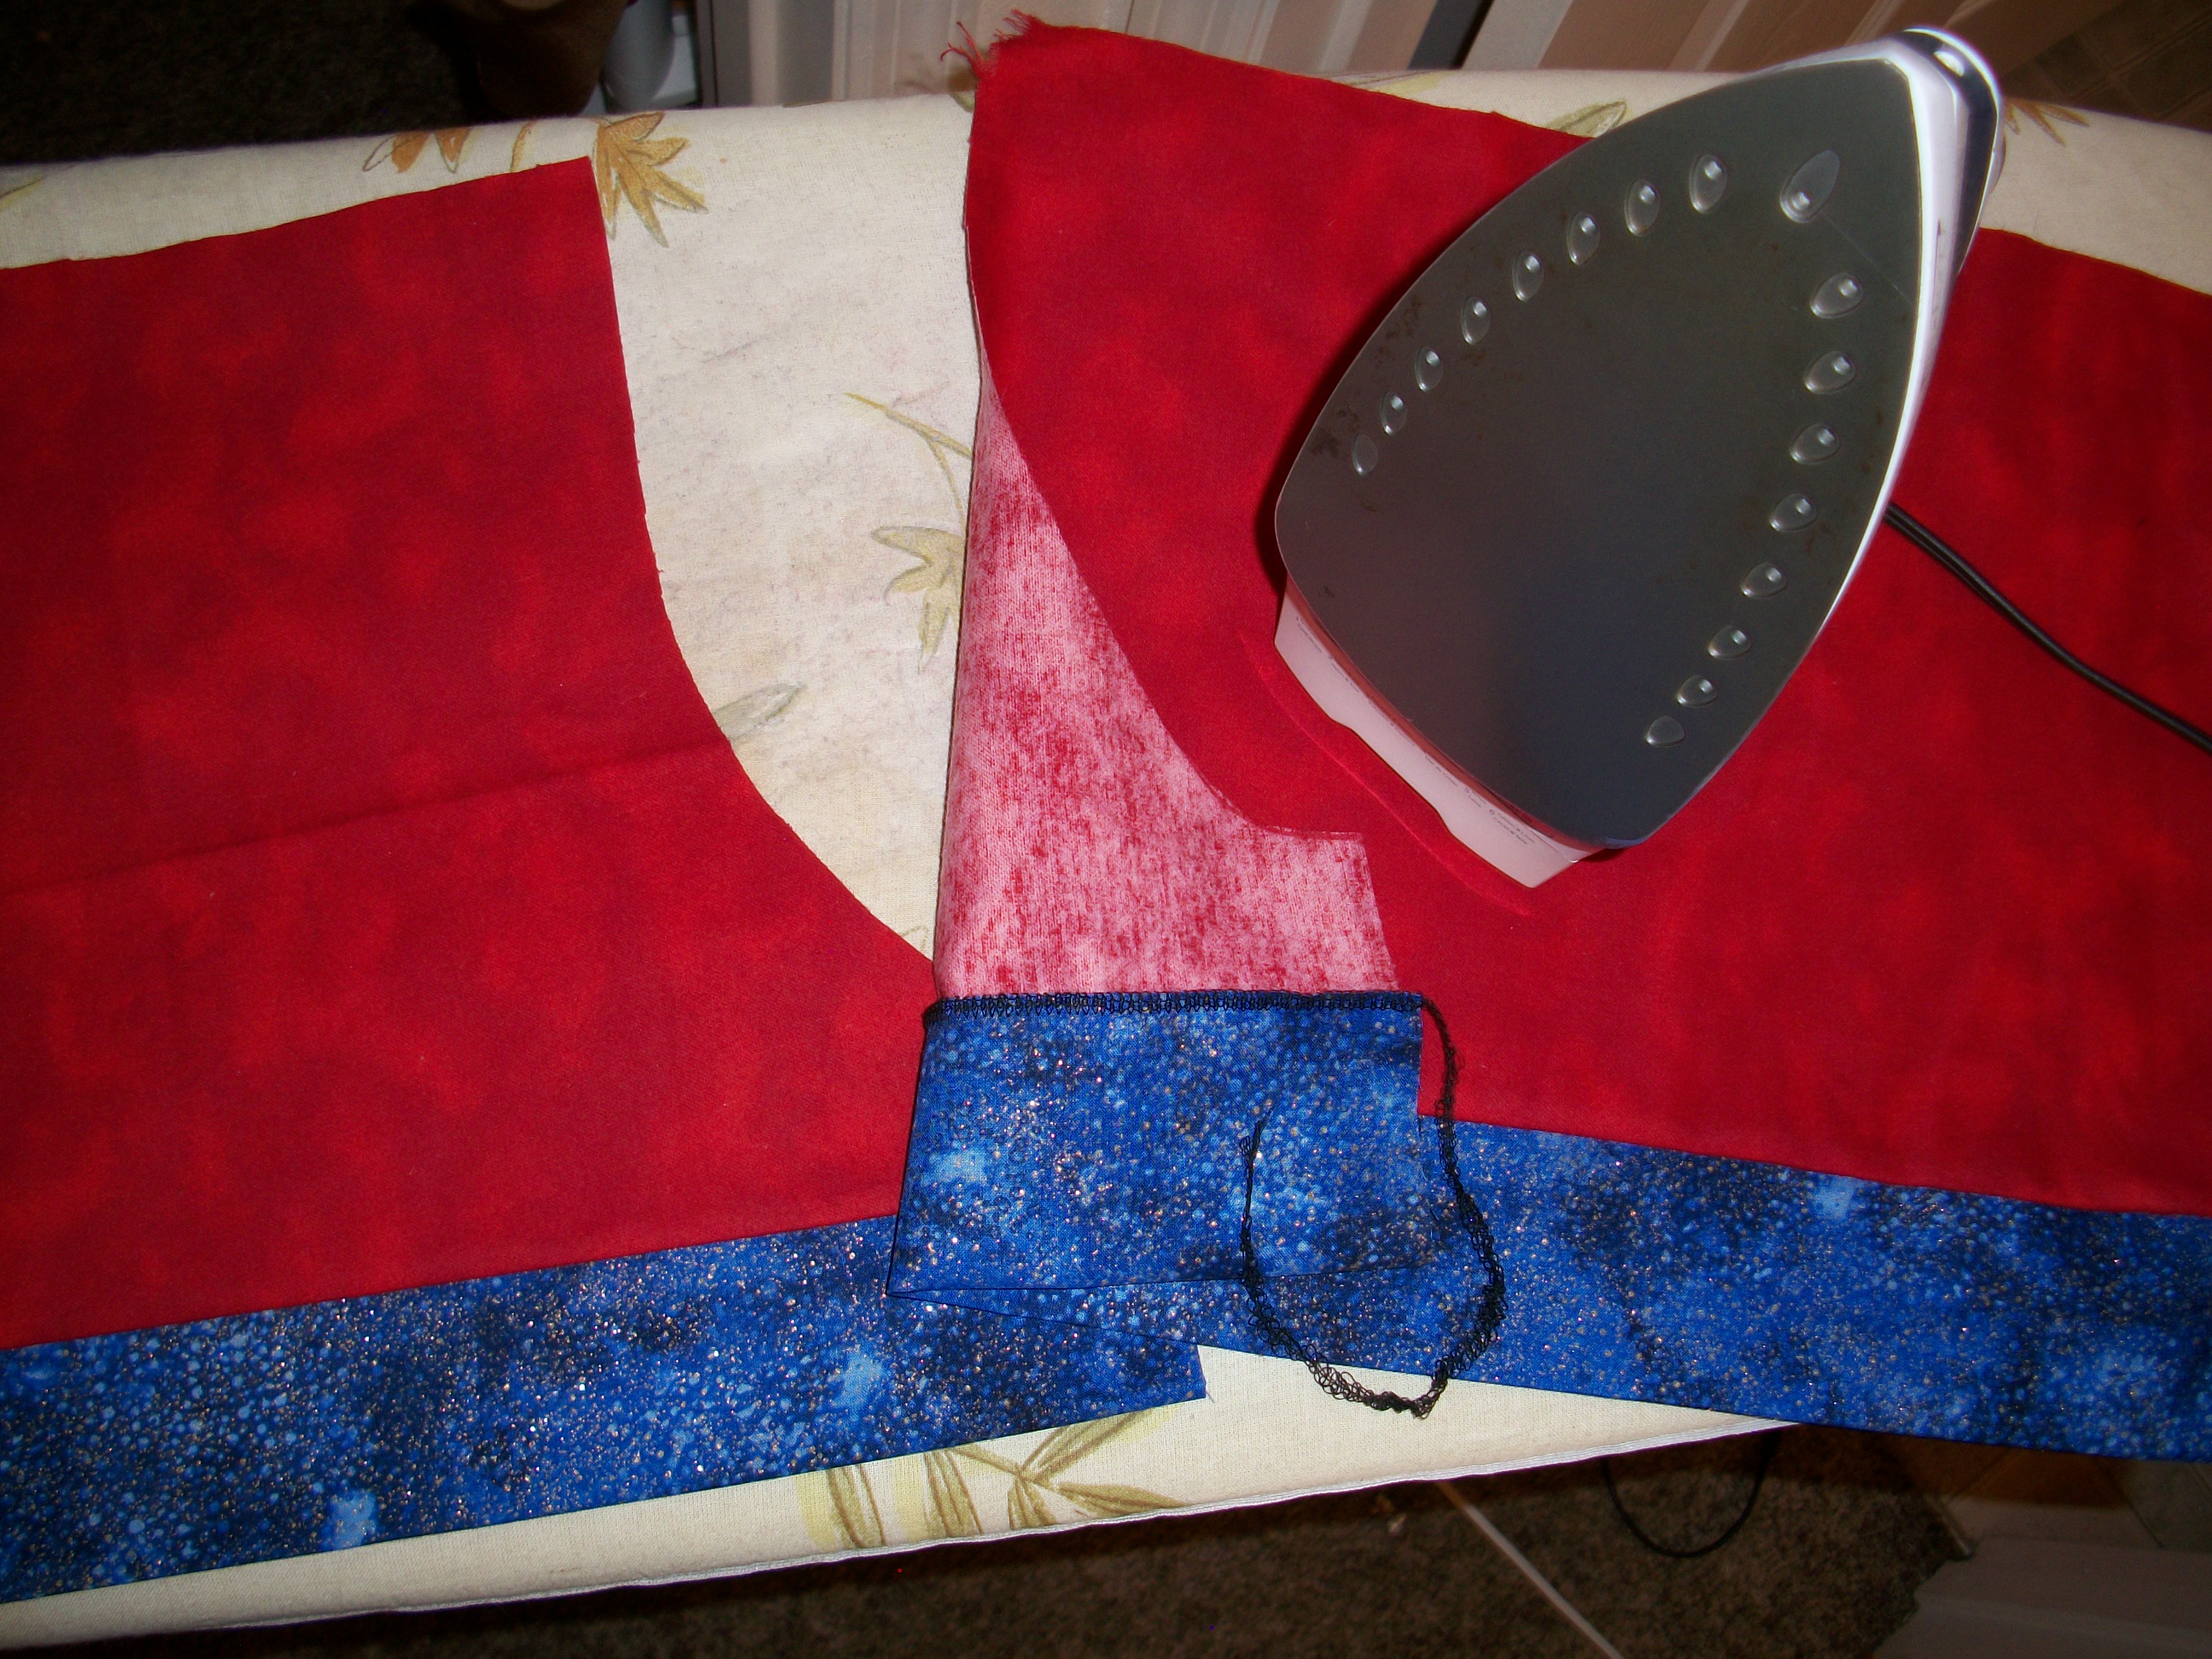
Prepare Pocket, Sides, and Belt Loops
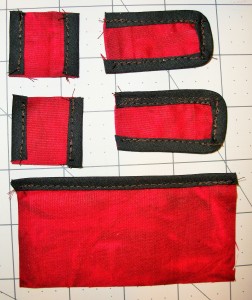
- Stitch bias tape along the top of the pocket fabric to finish it (or hem)
- Stitch bias tape along two sides of each side
- Stitch bias tape along 3 sides of each belt loop
Attach Hook and Loop (Velcro) Pieces
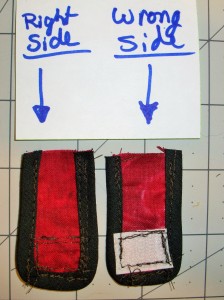
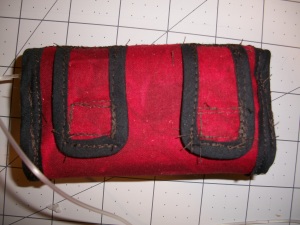
- Attach the hook and loops to the belt loops. I didn’t do anything super sophisticated here, as you can probably see. I just attached them near the bottom.
- Not Pictured (because I missed this step) Attach a hook and loop piece to the center bottom (side OPPOSITE of the bias tape) – addressed this missed step by simply gluing the piece at the end, however I would’ve been much happier if I had just sewed it when I should have.
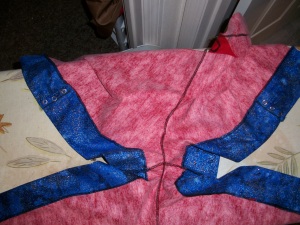
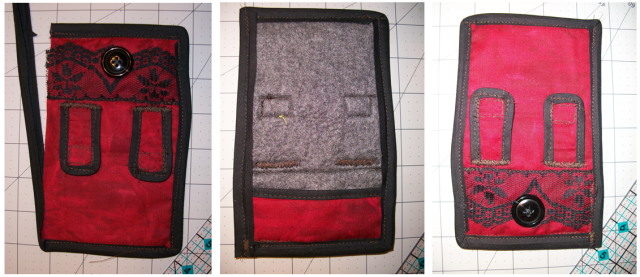
Attach Belt Loops to Main Piece
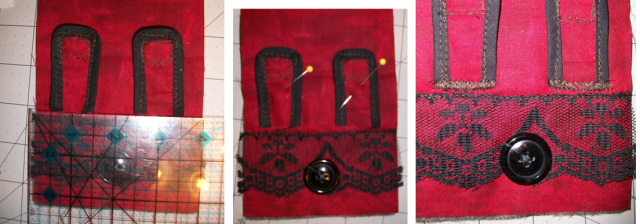
- Measure 2.25″ from flap edge and pin in place
- Zig-Zag stitch across the unfinished edge of the belt loops, attaching it to the main piece
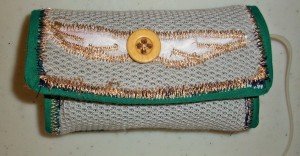
Embellish (Optional)
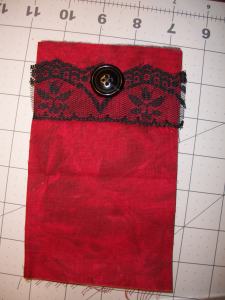
- As always, I enjoy adding a little personalization to my projects.
- I stitched the lace along the top to tack it into place, and then hand stitched the button – go wild. Nerd it up if you like (see The Harry Potter – Slythern House snitch version)
Attach Belt Loops Hook and Loop (Velcro) Pieces
- Attach the hook and loops (Velcro) pieces so that they match up with the belt loop hook and loops pieces
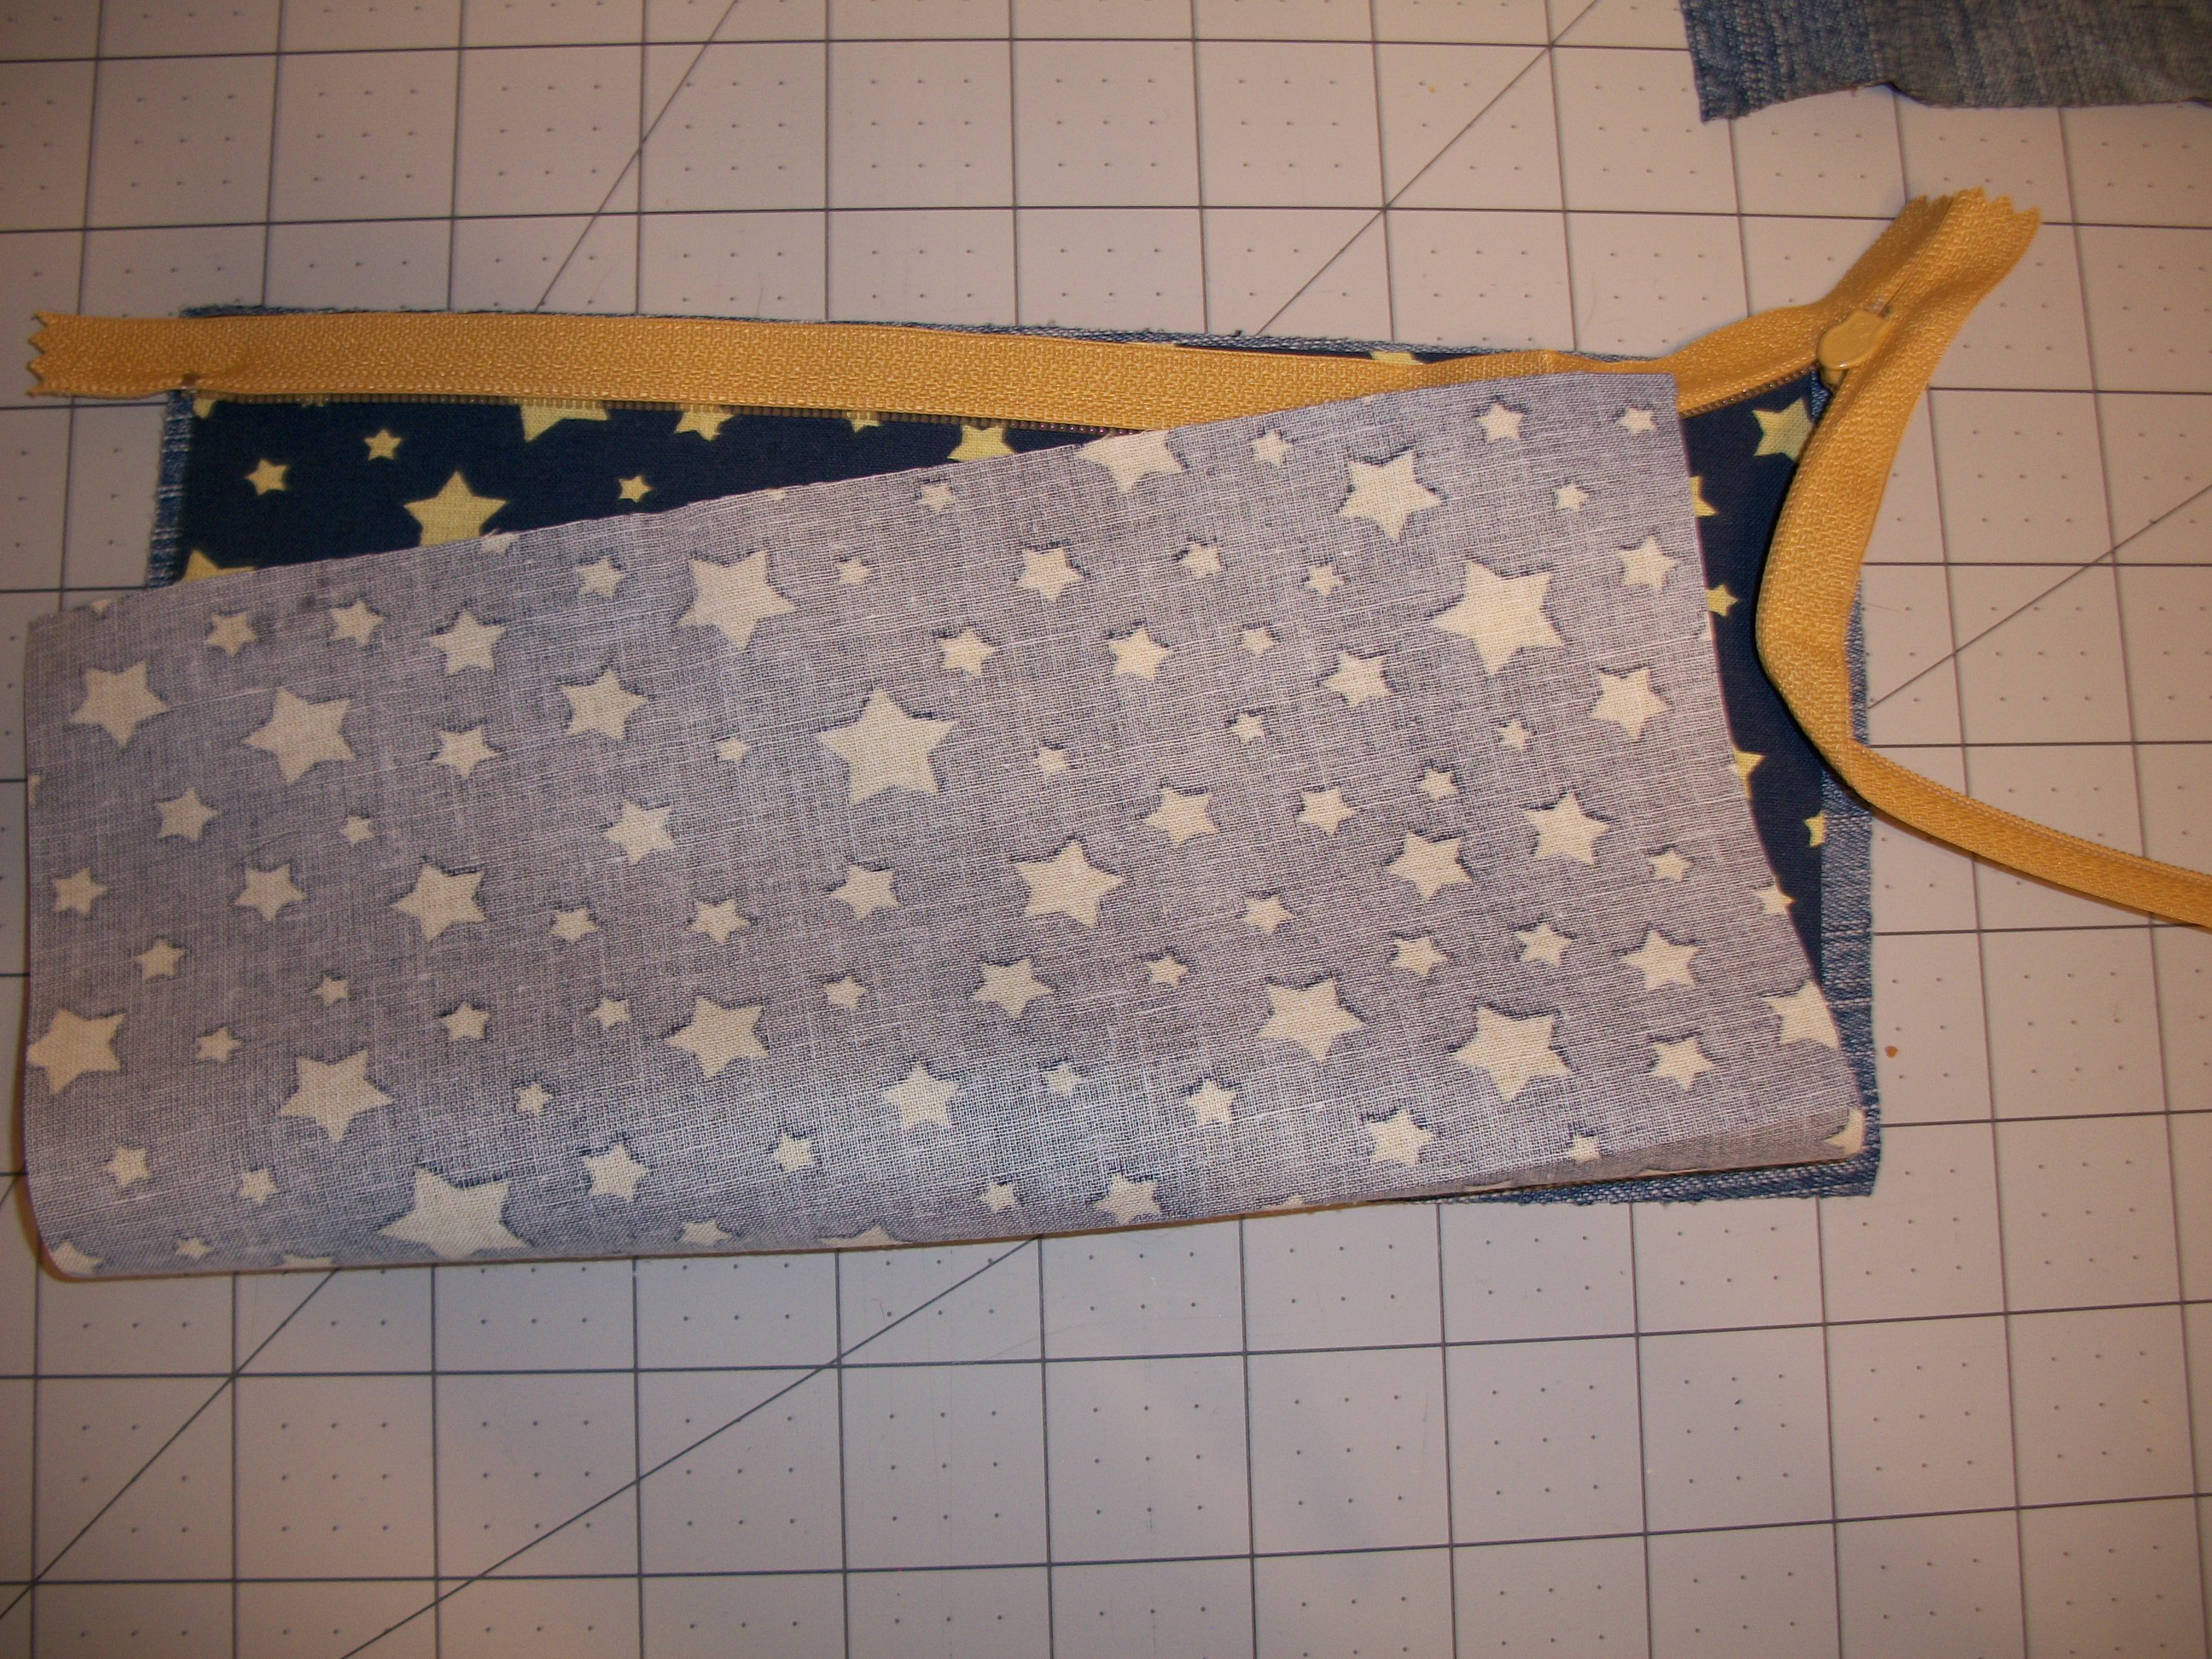
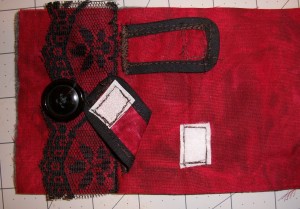
Attach Pocket
- Stitch the pocket into place: align the unfinished long edge with the bottom of the flap and stitch along the short edges and bottom, forming the pocket.
Attach Bias Tape to Outer Edges of Main Pieces
- As with many things, I can’t claim to be an expert here, I more or less just wung it (winged it?). I SHOULD have started on the bottom as opposed to the flap, but it still turned out ok more or less.
Attach Sides
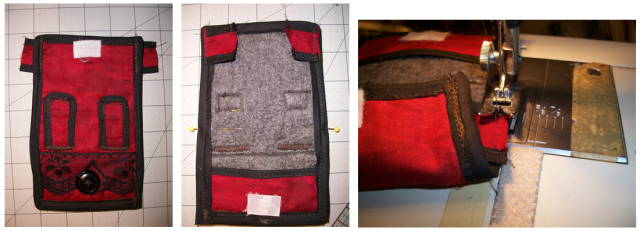
- Stitch sides to main piece, aligning along the bottom with the bias tape edge up
- Mark 3.5″ from the bottom with pins (on both sides)
- Fold main piece so that the top of the unattached side aligns with the pins from the previous step, stitch in place
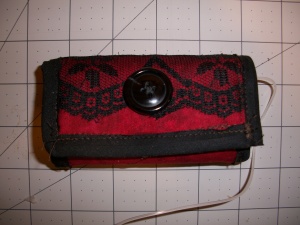
You’re good to go!
(Nerd-Draft Version: Harry Potter – Slythern House Snitch Case):
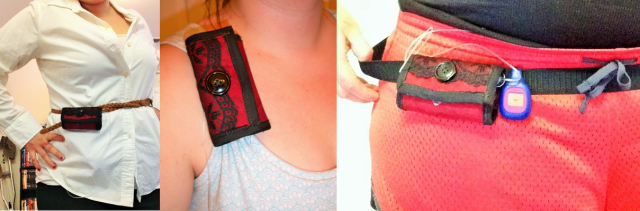
Wear It Any Number Of Ways
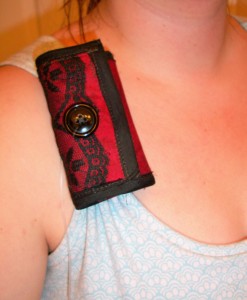
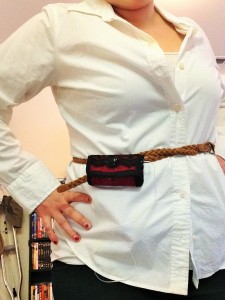
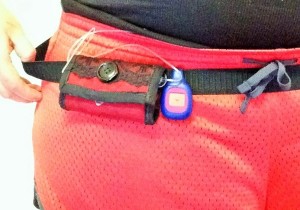
The belt loops are not deep, but they are decently sturdy. You can attach them to a narrow belt, or you can sew an elastic band into a loop – which I’ve found great for sleeping/working out. You can attach it to bra straps, tank top straps, or you can simply sew a small strap to your favorite clothing items.