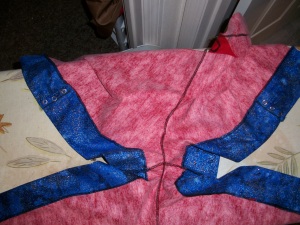
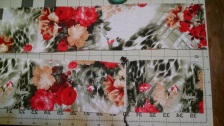
This is one of my favorite projects so far. I know, I know – I keep promising not all my projects will be pump cases, and they won’t be. This was just an easy project and I’m so happy with how it turned out! These shorts have a cuff with pockets for my pump. I made a pair to wear as pj’s (a little late for 4th of the July, which was my original intent). They’re surprisingly comfortable, and the extra pocket has proven to be SUPER useful for things like a little extra cash/cards/anything small that you need a pocket for:

It also works wonderfully to wear under skirts/dresses. It makes accessing my pump a whole lot less awkward than hitching up my skirt to my hip. Adding lace makes it feel like slightly fancy, and like a slip.

NOTE: there are two options here: Lace trimmed and pajama shorts. From here on out, the pajama shorts are the default instructions (the red/blue ones), alternate steps for adding the lace trimmed (red floral with black lace) are given in indented below the default steps. Pajamas steps are designated with “A” and lace trimmed steps are designated with “B”. If you are making PJs, SKIP steps beginning with B, if you are making laced trimmed shorts, SKIP steps beginning with A.
Material
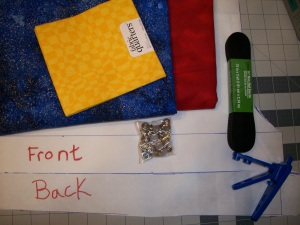

- 1-2 yards of fabric (Optional: coordinating accent fabric)
- Honestly, 1 yard of fabric would be solidly sufficient, but I always like to have extra to work with
- Elastic
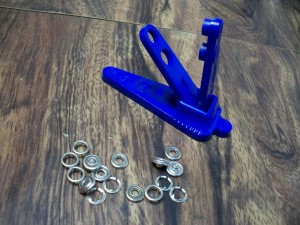
- Snaps or Hook and Loops (Velcro)
- Freezer Paper or Pattern Paper or Newspaper – really any paper large enough to draw the pattern on
Tools and Equipment
- Serger (not TOTALLY necessary, but way easier)
- Sewing Machine
- Scissors
- Pins
- Markers
- Tool to attach Snaps (if using snaps as as the fasteners)
Steps
- Make a pattern for front and back as described in this blog: How to Make Custom Tap Pants on the freezer paper (or whatever other paper you may be using to create the pattern) If making the lace trimmed shorts, I recommend shortening the length of your shorts pattern, we will be adding the trim to make it about 2.5 inches to 3 inches longer.

- It may help to have a helper hold down your freezer paper while drawing.
- A. Cut out the fabric pieces:
- Cut two of each (front and back) out of your fabric.
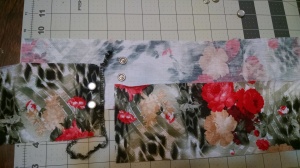
- Cut two 7″ x length of the bottom of the front pieces (blue bottom strips).
- Cut two 7″ x length of the bottom of the back pieces (blue bottom strips).
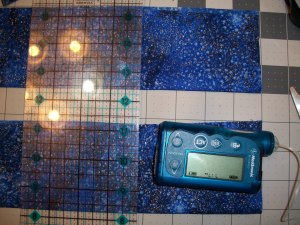

- NOTE: Image says 6″ – I originally tried 6″ but found it to be a little snugger than I’d prefer.
- 2. B. Cut the fabric pieces:
- Cut two of each (front and back) out of your fabric.
- Cut four 4″ x length of the bottom of the back pieces.
- Cut two 4″ x 6″ pieces
- Cut two 4″ x (length of the bottom of the front piece – 5″).
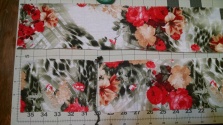
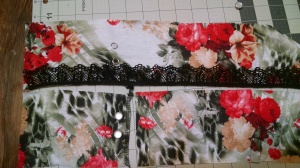
- Cut 2 pieces of lace the same length as the front pieces, and 2 pieces of lace the same length as the back pieces.
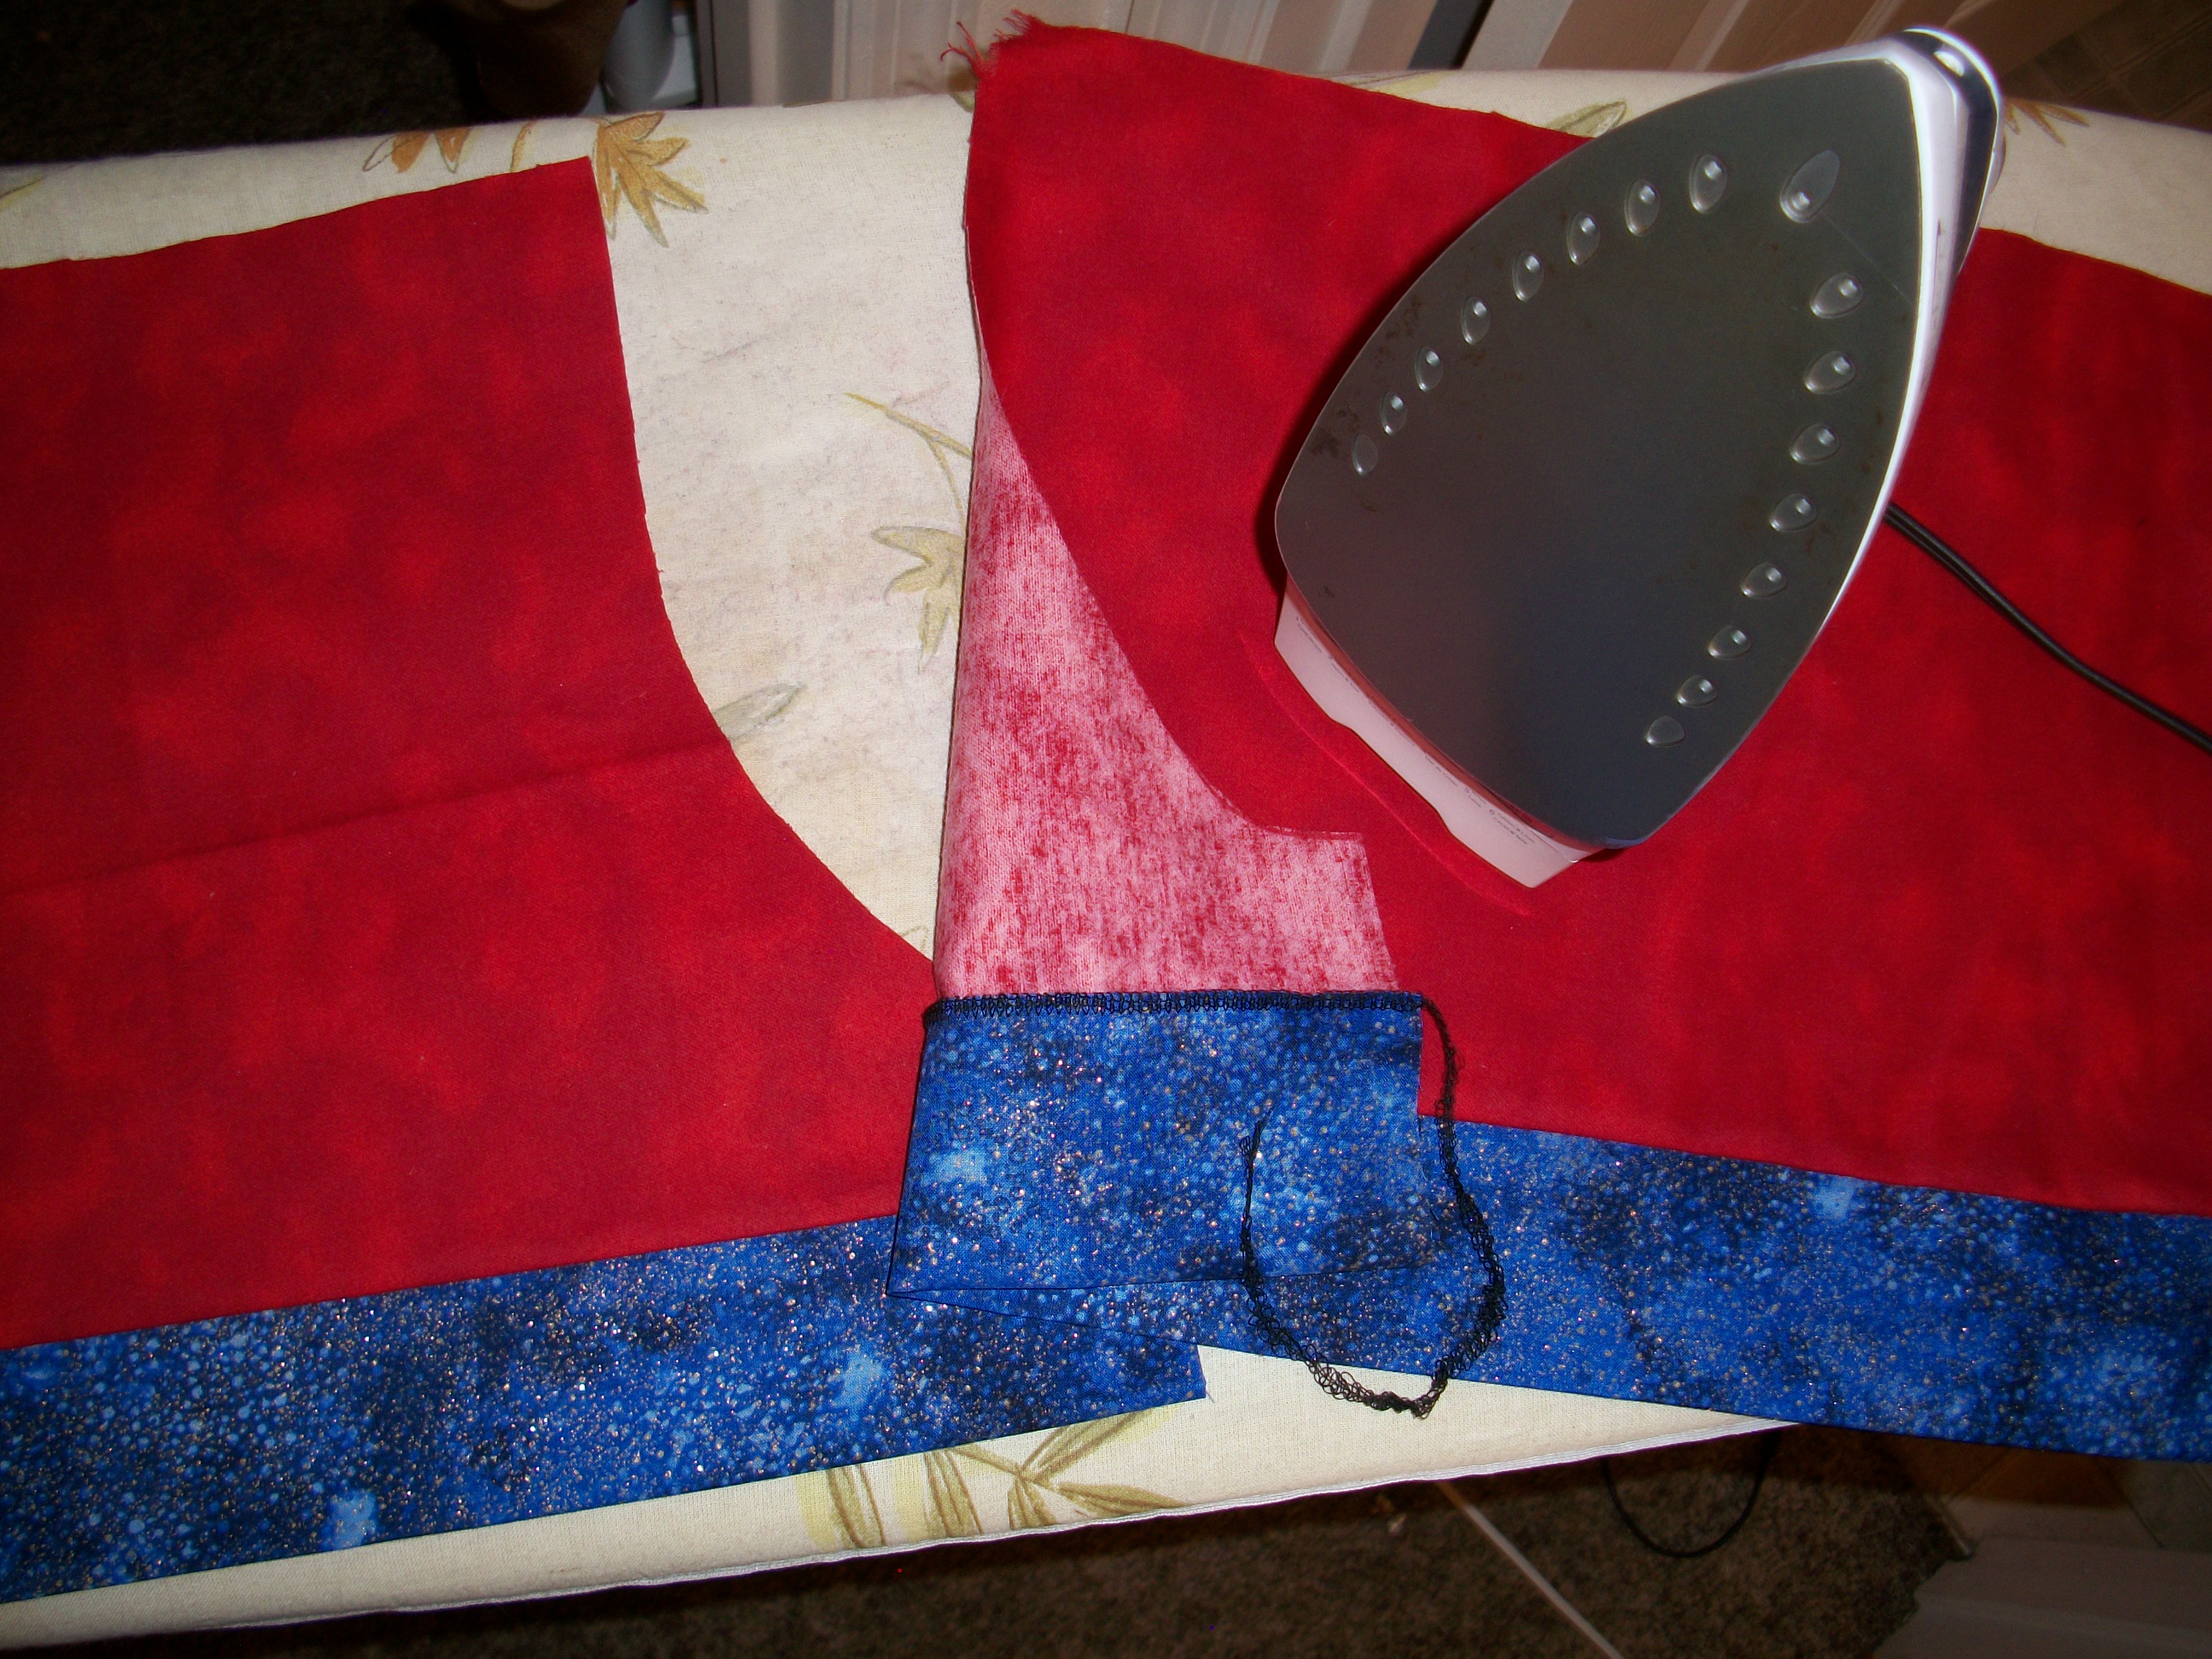
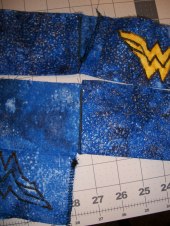
- A. Fold the 7″ strips from step 2 in half lengthwise and press with an iron
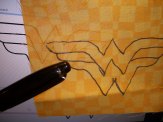
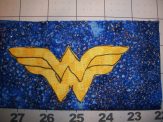
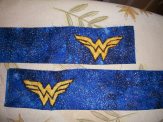
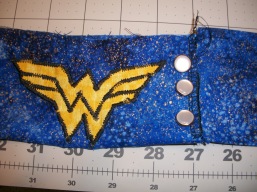
- A. If you want to add a patch or some sort of embellishment to the pocket, now is the time:
- I simply traced the pattern on the fabric and zig-zag stitched around the edges – attaching on opposite edges of the front cuffs
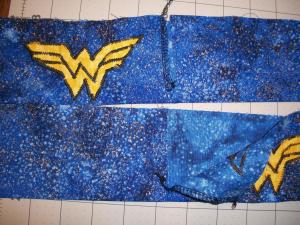
- A. On the 7″ strips that are the length of the front, measure 6″ in from the edge (opposite edge on each strip) and cut to the pressed crease
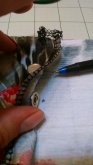
- A. Serge the edge that will open to form the pocket, zig-zag stitch the edge of the cut to the bottom
-
- 6B.
- Serge one of the 4″ edges of the 4″ x 6″ pieces, and then serge the other 4″ x 6″ piece’s opposite 4″ edge
-
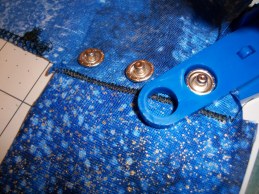
- Add Snaps (or hooks and loops) to serged edge and the corresponding locations on the piece below it.
- B: Assemble the pieces
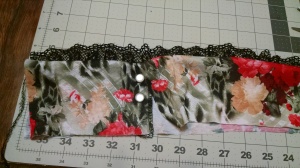
- Sandwich the long cuff of the front piece, lace, and the 6″ and shorter strip together and serge:

- Press open. Zig-zag the piece opposite the snaps to the base.
- Serge/Stitch the cuffs (that are folded in half) to their corresponding front/back pieces
- Serge/Stitch the short edges of the fronts to the short edges of the backs (you should now have two pieces)
- Line up the two pieces, so that there is a large “U” and serge/stitch the U
- Serge/Stitch the outer edges. You should now have most of your shorts done!
- Make the elastic band. The original blog suggests using fold-over elastic. I used the cheap, wide elastic strips and I feel it turned out well. Size the elastic around your waist (or where you want it to sit) by wrapping the elastic around yourself and cutting it out with about 1.5″ overlap. Stitch the overlapped pieces to each other. You should now have an elastic ring.
- Center the overlapped section of the band with the seam connecting the two front sections and pin.
- Zig-zag stitch the elastic band to the shorts. Pull the elastic as you stitch so that it matches the shorts. I went around the circumference twice for security.
- You’re done! Enjoy!